Skeeters Buggin’ You?
Recruit an insect patrol by building a bat house
 Bats are often unfairly pegged with a bad reputation. They are winged rats, we’re told, that hide in the dark waiting to turn us into vampires or — if we’re lucky — Batman. But, in reality, the 600 species of the planet’s only flying mammal are both intriguing and harmless.
Most North American bats are nocturnal insectivores, meaning they feed on night flying insects. Their favorite target: mosquitos. One small bat can consume 600 mosquitos in just one hour. Along with mosquitos, bats also feed on beetles, wasps and moths. Encouraging bats to nest near your house is a natural way to keep your property bug free.
Bats are very particular about where they reside, so slight differences in the construction of a bat box affect whether bats will accept it. The box must imitate their natural nesting habitat, which is the space between the bark and core of a tree. It is critical that you choose a natural stain; anything else could repel the mammals.
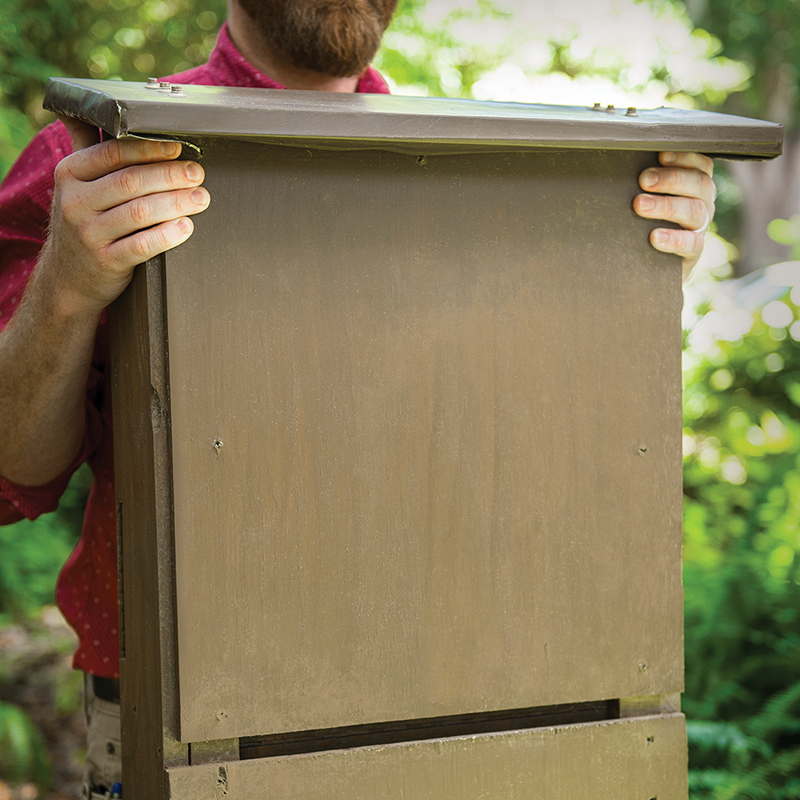
Here is a simple, yet effective way to build a bat box:
Materials needed for the project:
- 1 sheet of ¾-inch BC plywood
- Exterior 1¼-inch screws
- Water-based, dark-colored stain
Tools need for the project:
- Skill saw
- Framing square
- Screw gun
- Paint brush
- Shop rags
Step 1: Cut pieces from the plywood sheet measuring 2 1/4 inches x 8 feet; 4 3/4 inches x 8 feet; and 41 x 44 inches. The piece left over at this point will measure 41 inches x 55 inches and will serve as the back of the box. Use your saw to score this piece with grooves that are 1/16-inch deep and a half-inch apart.
Step 2: Cut the piece measuring 4 3/4 inches by 8 feet in half, creating two 4 3/4 by 4 foot pieces. One of these halves will serve as the roof. Rip the other half lengthwise to produce two pieces measuring 2 3/8 inches by 4 feet; they will be used as spacers separating the back and front of the box.
Step 3: Create the sides of the box by cutting two 2 1/4 inch by 44 inch pieces from the strip measuring 2 1/4 inches by 8 feet.
Step 4: Stain all pieces using the paint brush.
Step 5: Using screws, assemble the bat box by first affixing the spacers to the grooved back piece. Place the spacers 3/4 inch from the side edges of the back.
Step 6: Put the front piece on, such that it is even at the top with the back piece. Next, add the sides.
Step 7: Add the roof.
Step 8: Mount the bat box at least 12 feet off the ground.