DIY: Make Candles with Favorite Colors, Scents
Set Your Home Aglow

Saige Roberts |
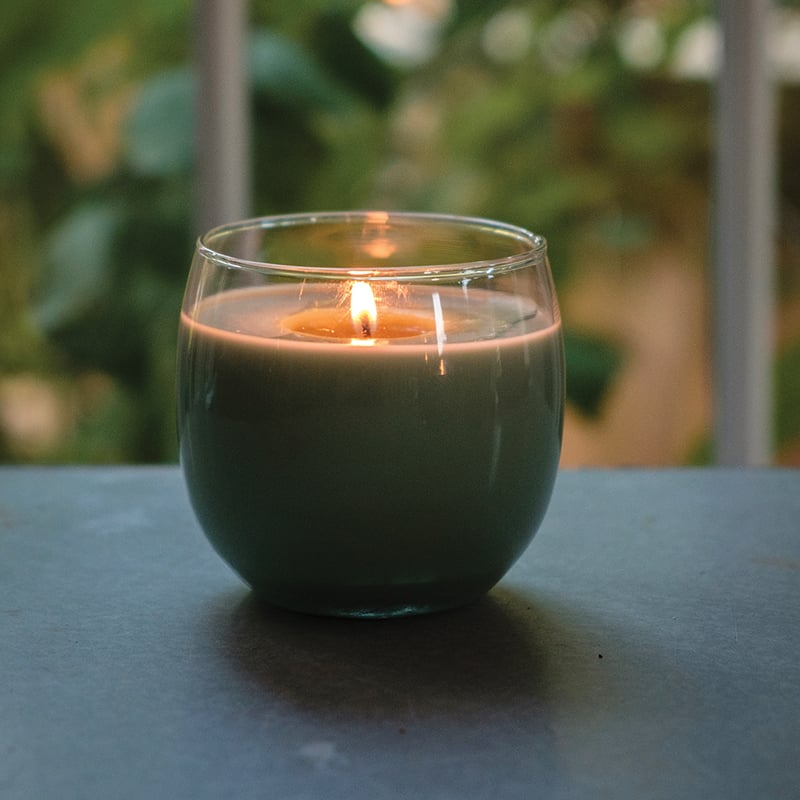
They lend a cheerful glow to a jack-o’-lantern’s grin and cast a homey light over a Thanksgiving Day dinner. They’re candles, folks — and they’re super easy to make.
Supplies needed for the project
- Clean glass containers Small (4-oz.) jelly jars work really well.
- *Candle wax, preferably in granulated or grated form You can grate it yourself with an old cheese grater.
- Double boiler Try using a saucepot filled with water in which you place a few canning rings that can support a quart mason jar. The jar will hold the melting wax.
- Candle dye Optional
- Aromatherapy oils or essential oils Optional, but you may want to try a few drops of clove, orange and eucalyptus for a fresh, outdoorsy scent.
- Wicks with metal bases (tabs) Make sure the wicks are long enough for your containers.
- Hot glue gun and hot glue A drop of hot glue on the metal base of your wick will secure the wick to the inside of your candle container.
- Barrel of a Bic pen This will help you to press the wick into the bottom of the container (see images 1 and 2).
- Clothespins You’ll use one on each candle to keep your wick upright while the wax solidifies (see image 3).
- Wooden kebab skewer This is for stirring your wax once you’ve added the scented oils and dye.
- Scissors Trim your wicks to ¼ inch taller than the top of your candle.
- Hot pads They’ll help you handle your hot wax container.
*There are many types of candle wax, but for glass container candles, a wax with a low or medium-low melting point is essential, or your container will shatter when you pour in the hot wax. Paraffin wax is great for container candles, but it’s also petroleum based and a non-renewable resource. Soy wax is a renewable resource, but it does not hold scent very well. Beeswax candles last a long time and carry their own scent (but you can also add scent to them). Beeswax is a limited resource, which means it’s expensive.

Illustration by Saige Roberts |
Make It!
Step 1 Thread a wick down the barrel of the pen (see image 1). Put a drop of hot glue on the metal base of the wick and use the pen to press the wick to the bottom of your candle container (see image 2). When the glue is dry, pull the wick straight and clip it with a clothespin that can rest across the opening of the jar (see image 3). There should be no slack in the wick. Repeat for all containers.
Step 2 Melt the wax in the double boiler, then remove the jar of wax from the heat source. Add the scented oils and dye and stir with the wooden skewer. For strongly scented candles, add 10 drops of oil per candle.
Step 3 Carefully pour the melted wax into each container a little more than ¼ inch from the rim, reserving enough wax to “top off” the candles after they’ve cooled (see image 4). Allow the candles to cool. (This will take several hours.)
Step 4 Re-melt the wax you reserved and pour it into the concave dip that will be in the center of each candle (see image 5). Pour enough wax to fill the dip and to just cover the entire surface of each candle (see image 6).
Step 5 Trim the wicks to ¼ inch.